Setting up an index
Indexes are at the heart of the Fotoware system. By first setting up an index with one or more document folders attached to it, you can configure FotoWeb and/or FotoStation clients to connect to the system and start working with the files. Follow the instructions below to successfully set up your first index.
Creating an index
Tip: Take care not to confuse the index folder with the document folders. This index folder contains binary data that Index Manager uses internally, while the document folders are the folders that you want to make available to users of the system.
Creating an index
- In Index Manager Settings, open Indexes.
- Expand the group you would like to an index to and select Add Index. The index properties are then configured on the associated pages, (General, Document Folders, Access list, Filters, Fields, and Advanced).

If you like you can also group collections of indexes by creating a group and dragging an index into the new group.
- Go to the General tab to set the basic properties for the new index.
- Name: Enter a name for the index in this field. This name will be shown when connecting to the archive in FotoStation and FotoWeb. Note: The index name cannot contain characters that are illegal for use in URLs.
- Description: You can add additional information about the archive here.
- Index Folder: Select the location of the folder where the index is stored. The index folder is only used internally by Index Manager, so it does not have to be in a shared location. It should, however, be stored on a fast, local disk with a large cache, since Index Manager will access this folder extensively when processing searches. Use the fastest drive available on the server and make sure it has plenty of space available. A disk that is close to running full will inevitably become heavily fragmented, which in turn will affect the performance of the system.
- Set the indexing options:
- Enable Indexing - Make sure you select this to enable the index. Otherwise, when you start the service the index will remain disabled and unusable.
- Enable search during build-up - Select this if your clients need access to search the archives while it is being indexed, enable this option. Note, however, that this will slow down the indexing process somewhat, and that searches may only produce partial results while the index is building.
- Enable quick startup after restart - When Index Manager is stopped momentarily and then restarted, it will, by default, rescan all document folders on startup. This can take some time with large indexes, so if you want to make the service start more quickly, enable Enable quick startup after restart. This allows Index Manager to start without scanning the document folders attached to the index. However, this only works if the service has been stopped for less than 15 minutes. Any files that have been stored or updated in the document folders while the Index Manager service was stopped will only be updated when the asset is updated while the service is running or the next time an Index Optimization is run.
- Select Save.
Next, you need to attach one or more document folders to the index.
Tip: Before you save the configuration and start Index Manager, it may be practical to enable guest access to the index so that any Fotoware client application on the network can connect to the index without authenticating.
For more information, see Allowing unauthenticated users to access indexes.
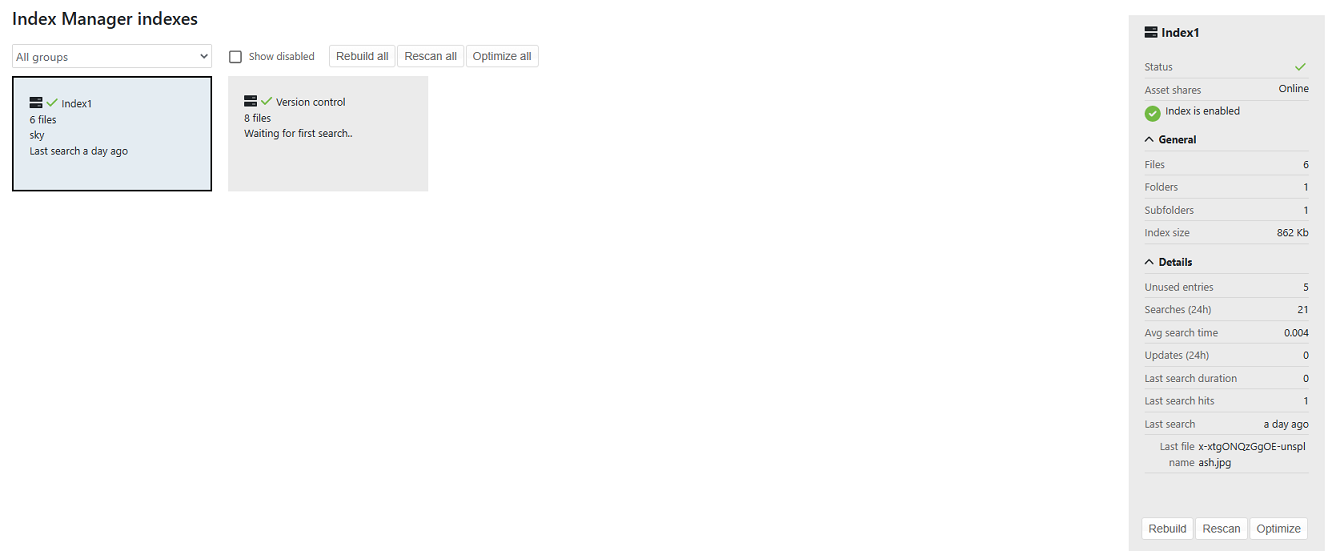
Checking Index Manager status
You can check the Index Manager status in both the Operations Center Status app and the Index Manager Settings app. The index you created should be marked with a green checkmark. Select an index to open a panel displaying more detailed information about it.