Creating a channel
Creating a channel
- In Color Factory Settings, expand Global Options and select Process Channels.
- Select the New channel link below the list of configured channels. You can also right-click on Process Channels and select New Channel (or New Group to create a channel within it), or you can select Color Factory > New Channel.
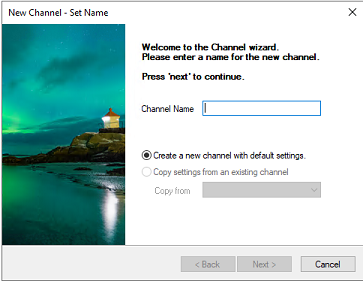
- Enter a name for the channel. Ideally, select a name that briefly explains the intended processing of the channel. If you would like to clone an existing channel or make a new channel that only slightly modifies an existing channel, you can choose to copy the entire range of settings from another channel to the new channel. Select Next.
- In the dialog that opens, select an input folder for the new channel. By default, Color Factory will suggest placing the input and output folders within the global image base folder, but you can choose any folder that the server can access. To use the same input folder and options as already in use by another channel (in which case Color Factory will process the input file in both channels before removing it from the input folder), select This channel uses the input folder and options from another channel. Select Next.
Note: When using an input folder on an NTFS disk (either through a local drive connection or through a share) Color Factory receives notifications from the file system when a new file arrives in its channels. This feature is available only using local access to NTFS drives OR by monitoring network shared folders over the SMB protocol. If your storage solution does not support sending file system notifications over SMB you will need to configure Color Factory to scan the input folders at regular intervals.
- In the dialog that opens, select an output folder for the channel. You can also choose to use the same output folder as another channel. It's also possible to store the output file in the input folder of another channel to allow daisy-chaining of channels. That way, one channel can apply certain processing before delivering files to another channel, which in turn processes the file with additional options. Select Next to continue.
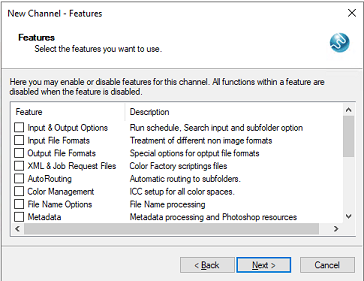
- Select the features that you would like to enable for the channel. You can add or remove features later, so if you are unsure what you need you can leave this step for later. Select Next to continue.
- Choose the output format of the files processed in the channel. All files will be converted to this format irrespective of their input format. For more information about the various formats, see Adjusting basic channel settings. Select Finish to create the channel.
Working with groups of channels
When a channel has been created it is placed within the default channel group listed below Process Channels in the console tree. By grouping channels, it is easier to adjust similar channels in your system. Also, when the channels are listed in a group you can right-click any channel setting from the group list view and change it directly. If, for instance, you want to deactivate a channel, right-click the Active field of the channel in question, expand Channel Active, and choose ON or OFF. To change the settings of several channels in a single operation, use Ctrl-click to select the several channels.
Applying the input settings of another channel
When two or more channels have been created, you can configure a channel to use the input folder and input options of another channel while using its own processing features and output folder. The input folder and special options related to the handling of input files will be synced across from the "primary" channel, while the two channels can be configured differently feature-wise.
To enable this feature, expand the list of channels and select the channel you want to modify. Select Channel Settings. In the dialog that opens, select This channel uses the input folder and options of another channel, then choose the channel whose input folder and options you wish to use. This way, the channel becomes a "secondary" channel whose input folder and input options are determined by the "primary" channel. A secondary channel has a limited set of input options, for more information see Input options for secondary channels.