Configuring file transfers to or from an FTP server
Learn how to configure a connection for retrieving files from or delivering files to an FTP server.
- To create an FTP server connection, open the Connect Settings app and go to Servers > Default.
- Select the group to which you want to add the server and select Add server. You must specify some general settings for the server before you can define the folders that you want to use for file transfers.
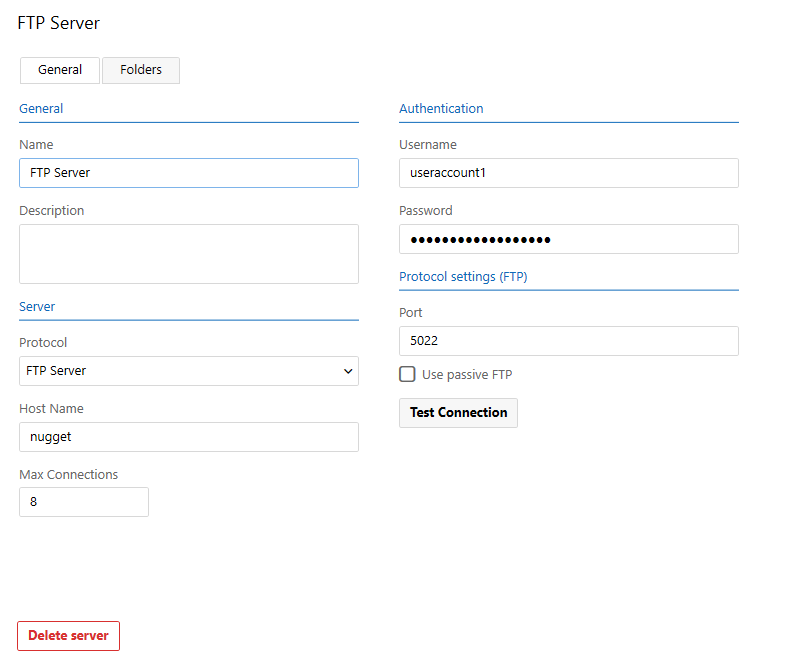
Name: Enter a short, descriptive name for the server
Description: Add a longer server description, if necessary.
Protocol: Select an option from the drop-down list. Note: Connect will not validate FTPS server certificates; it will accept all certificates.
Host Name: Enter the host server name. It could typically be ftp.domain.com or simply an IP address. If the FTP server is outside a corporate firewall, you need to make sure the required ports have been opened for incoming and/or outgoing FTP traffic.
Max connections: Set the maximum number of connections that the server allows.
Authentication: Enter the username and password required to access the FTP server. If anonymous access is allowed it is often sufficient to specify Anonymous as the username and an email address as the password.
Port: The default port number varies depending on your choice of FTP protocol.
Use passive FTP: If the FTP server is configured to use passive FTP, select this option.
Test Connection: When you have configured all of the above settings, select Test Connection to attempt to connect to the FTP server and validate the username and password.
- Select Save.
What's next?
The next step is to define the source or destination folders on the FTP server. For more information, see Defining source or destination folders on an FTP server.
When you have defined these folders, you can configure routing and create a channel that combines source and destination folders.