User installation of the Fotoware plugins
This topic explains how a user can install Fotoware plugins on their local computer to use plugins for Microsoft Office (Word and PowerPoint) and Adobe InDesign. The package also includes an upload utility that can be accessed in the Windows system tray and features that allow users to check out any type of file from the Fotoware system, edit it locally in an application that supports the file type and then upload changes back to the server and check the file in.
Note: Installing software on you computer requires administrative privileges. Contact your system administrator if you're unsure whether you have sufficient access.
Installing the Fotoware plugins
After logging in to the Fotoware site through the browser, you will be notified if you've been given access to the Fotoware plugins.
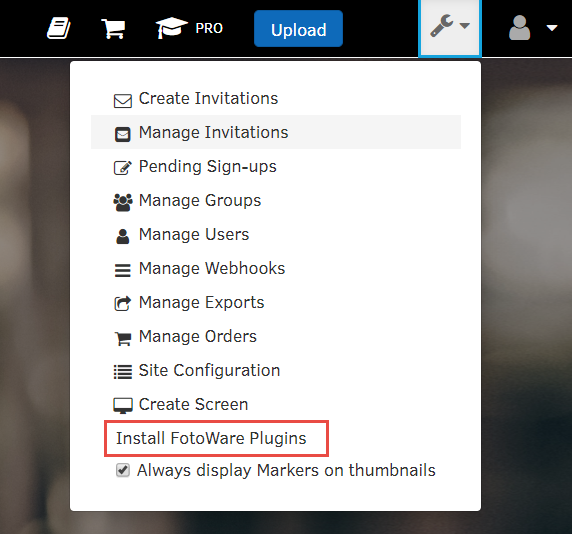
Click on the Install Fotoware Plugins link in the banner at the bottom of the screen.

If the banner disappears before you can click it, open the Tools menu (wrench icon in top right corner) and choose Install Fotoware plugins.
An overlay window shows (see below). First click on the blue Download FotoWeb Desktop button in step 1 to download the plugin installation file.
Once the download completes, click on the installation file and run the installer.
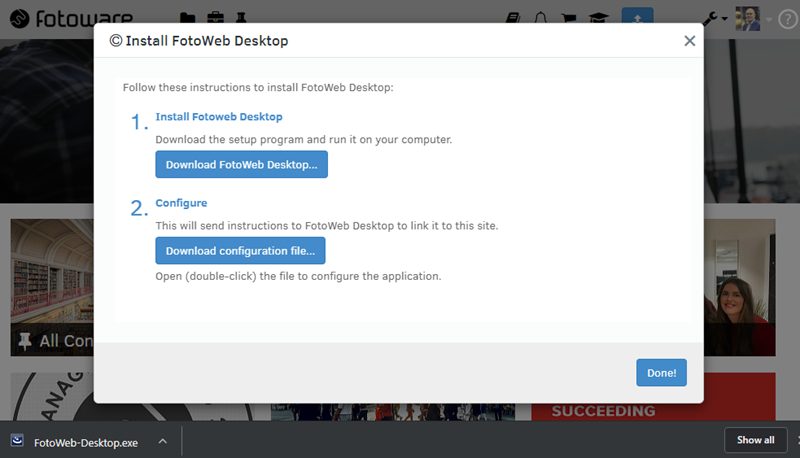
When the installer completes, click on Finish to close it and then proceed by clicking on the second button on the Fotoware site - Download configuration file (screenshot above). This will download a small configuration file that you need to click on to associate the plugin with your Fotoware site:
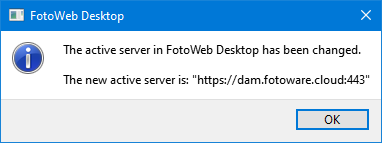
Once this is done, the plugins are ready for use!