Creating a user
Follow the steps below to manually create a user in FotoWeb. If you would rather import users and groups from your existing Active Directory or another identity provider, contact Fotoware.
Adding a user
- From the Tools menu (cogwheel icon), go to Manage Users/Groups.
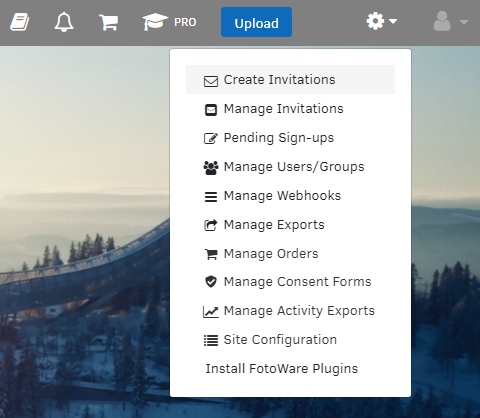
- In the view that opens, select Add new user.
Setting basic user properties
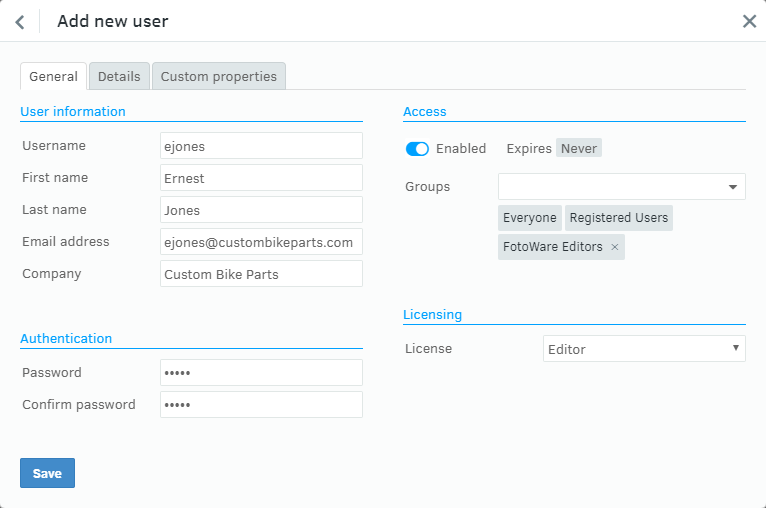
- Enter the user information on the General page. The Username, First name, Last name, and Email address fields are mandatory.
- In the Authentication section, enter the password that the user needs to log in. Note that when modifying the account of users imported from an external authentication provider, the password cannot be changed as it is managed in the external directory.
- In the Access section, you can immediately assign the user to one or more groups by selecting a group from the drop-down list. New groups can be created by entering a new group name and selecting Add new group in the drop-down list. You can then set all the necessary group permissions before returning and saving the new user.
For more information, see Organizing users into groups. - In the Licensing section, you select the license type to assign to the user. The selected license determines which features users can access in the system. Learn more about how licenses and user groups combine.
- Select OK to create the user and store it in the FotoWeb user database.