Registering a User Interface Integration in Fotoware
Registering a user interface integration
To register an integration, the logged-in user must be a member of a group that has the Manage users and security permission.
- From the Tools menu (cogwheel icon), go to Site Configuration > Integrations > Add application.
- Select Add application to create a new integration.
- Select Web App/API from the Type drop-down list.
- API vs Selection Widget: If an application is registered with the Selection Widget scope, it cannot use the API. This implies that a user interface integration will not be able to obtain an OAuth access token (
{{oauth.token}}So, while a user interface integration can be made as a Selection Widget type, it cannot use the Fotoware API.
Note: Whether your Fotoware has an API license depends on your site's licensing scheme/SaaS plan. - Enter a name for the application in the Name field.
- To define redirect URIs, select Add and enter the URI address. If you enable CORS later, any URIs specified here are automatically added.
- Select Create in the User Interface Integrations section, where you can add embedded UIs for the Quick Info, Asset Details, and Preview areas in Fotoware. Select Create to set up the integration.
General settings
- On the General tab, enter the Title and URL for your integration. The URL can contain query parameters to search for (for example, the asset ID in the connected system).

- Select the Type that determines the area on the details page to which the integration is added. You can choose between Quick Info, Asset Details, and Preview. For more information about these options, see User interface integrations.
- Select Save.
HTTP/HTTPS remarks
If the Fotoware site is hosted on a HTTPS address, the user interface integration should also be hosted on a HTTPS address. Otherwise, it will likely be blocked by the browser. HTTPS is generally recommended for security reasons.
As an exception to this rule, loopback URLs (using localhost, 127.0.0.1, or [::1] as the host name) can and should always use HTTP.
Filters
On the Filters tab, you can manage the file types that trigger the integration. This way, you can make the integration appear only when users preview certain types of assets.
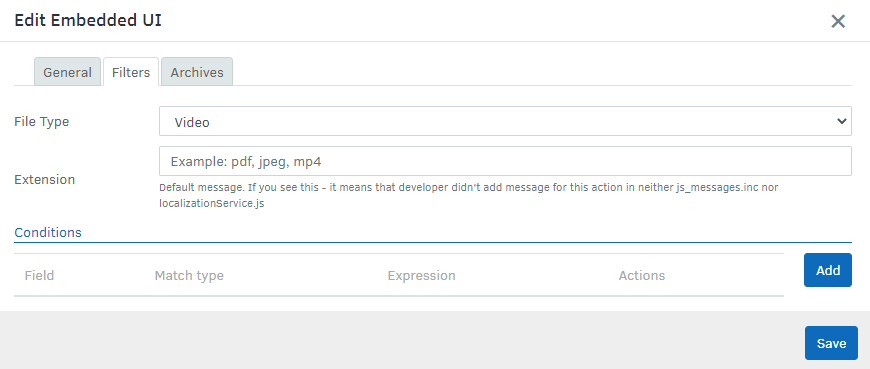
Select Any, Image, Video, Graphic, Audio, Document, or Other from the File Type drop-down list.
To display the integration only for files with a specific extension, choose Any file type and add the extension below. Multiple extensions can be separated using a comma and a space, as such: .ext, .ex2, .ex3.
You can also define additional conditions in a metadata field that must be met to display the integration. Select a metadata field and the match type, and enter the expression that must be matched. You can also use regular expressions.
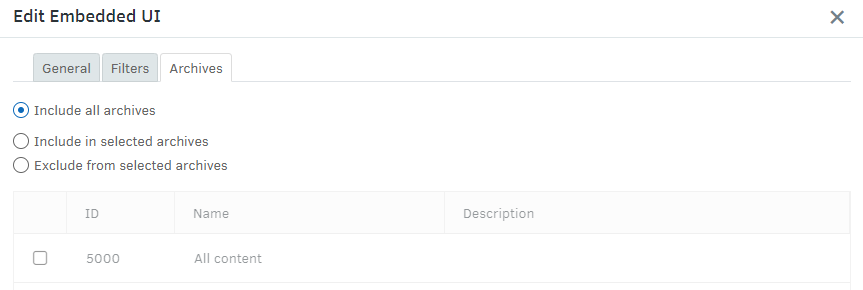
Archive filter
On the Archives tab, you can define the archives where the integration should be used. It is enabled in all archives by default, but you can include or exclude archives to suit your requirements.