Choosing channel source and destination folders
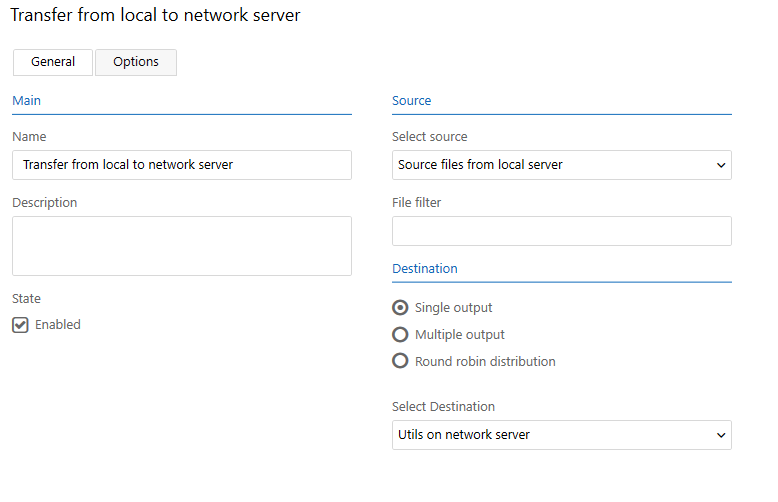
Name: Enter the name of the channel.
Description: Enter a more detailed description, if necessary.
State: The state determines whether the channel should actively look for files to transfer or be turned off. A disabled channel can be enabled by selecting Enabled here or by enabling it in the Operations Center Settings.
Source: From the drop-down list, select a server and a folder to use as the source for your channel. Optionally, you can apply a File Filter (for example, *.doc) to determine which files should be transferred. Without a file filter, the channel will transfer all files in the source folder. If you would like to add several file types, separate them using a space or a comma, for example: *.jpg *.tif *.png
Destination: You can choose whether the channel should have single or multiple outputs. or to alternate between different servers using a round-robin distribution method. If you select Multiple output, select a destination folder from the drop-down list and then select Add to add another output. You can add as many different outputs as you like.
Note: When a channel has several destinations, if one of the destinations fails, Connect may transfer the same files several times to the other destinations.