Importing pictures from a memory card using the Acquire Wizard
How to import pictures from a memory card using the Acquire Wizard.
Using the Acquire wizard to import pictures
The file acquire wizard makes it easy to import files to FotoStation. This feature is particularly useful when importing files from a digital camera, since many operations can be automated, such as renaming of files and the application of a text template or a macro.

To import files, click on the Acquire button on the toolbar. The file acquire wizard will start.
Tip: If you're currently browsing a memory card or a folder on the Desktop tab and want to import the files you're watching, (1) select the files to import and (2) open the File menu and then (3) choose Acquire selected...
Creating or adding to a job

Start by creating a job name and description. The files acquired will be added to this job, making it easier to retrieve all the acquired files later by clicking on the job name in the Jobs side panel. In the Description field, enter a job description, for instance the time and place the pictures were taken or a description of the files’ intended use. If you have already prepared a job (see the chapter on Jobs for more information), you may add the files to that job by selecting Add to existing job and then choosing the job in the list.
Click Next to proceed.
Selecting source files and setting preferences
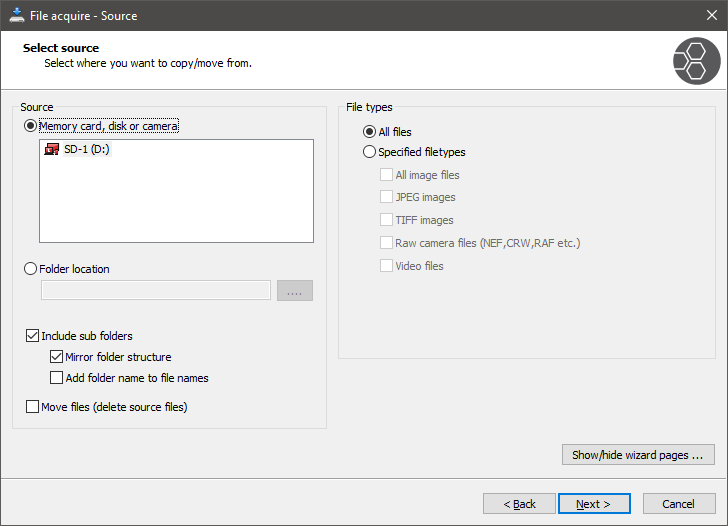
Now, choose the source location of your files. By choosing Memory card, disk or camera, you can choose from all local disks recognized by the system. To acquire files from a network disk, choose Folder location below and then click on the browse button (…) to locate it.
Subfolder options
If the source folder has subfolders with files that you want to include, select the Include subfolders checkbox. When including subfolders you can also choose to mirror the entire subfolder structure of the source folder in the output folder, or you can add the folder names to the file names to avoid duplicate file names in the output folder.
Selecting Move files will delete the original files after they have been successfully imported to their new location.
When sending acquired files to upload actions (Upload to FotoWeb, FTP upload, Copy via FWP), the Acquire function cannot delete the source file, as it is unable to determine whether the upload completed successfully. However, sending acquired files to a Move via FWP action will remove the source file when the upload completes. In this case, it's the action process performing the cleanup.
Choosing files types to import
Since the source folder can contain many different types of files, FotoStation lets you choose the file types that you want to include when importing files. Choosing All files will make the program import all files in the source folder regardless of their file type. By choosing Specific filetypes you can choose the types you want to include by selecting the checkboxes below.
Click Next to proceed to the destination folder page.
Choosing a destination folder
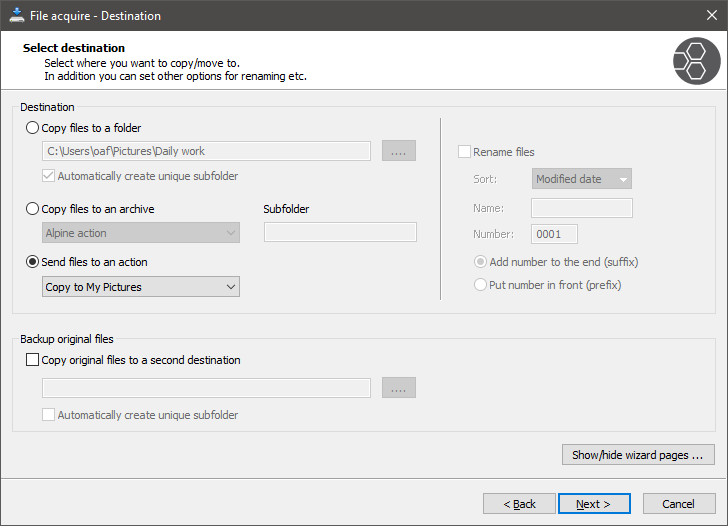
Now choose the folder you want to copy the files to. Basically you have three choices:
Copy files to a folder: Choose this option to select the folder you want to copy the files to. Use the browse button to locate or create a suitable folder. If you also choose Automatically create a unique subfolder FotoStation will create a uniquely name subfolder within the folder you choose.
Copy files to an archive: Lets you choose among the predefined archives using the dropdown list. If you want to copy the files to a subfolder within the archive folder, enter the subfolder name in the Subfolder field. FotoStation will create the subfolder if it doesn’t already exist.
Send files to an action: Choosing this option will send the files in the source folder directly to an action. The action’s settings will determine how the files are processed and where they are saved afterwards.
Creating a backup copy of the original files
If you would like to keep a copy of the original files without any kind of processing applied, also select the checkbox labeled Copy original files to a second destination and choose a backup location. If you would like FotoStation to place the files in a subfolder within the backup folder, also select Automatically create a unique subfolder.
Renaming files in the output folder
FotoStation can also rename the files in the output folder. To do this, select the Rename files checkbox, then, using the dropdown list, choose the sorting method FotoStation should use when reading the source files. The sorting method will determine the order in which the output files are named.
Enter a filename in the Name field and add a separator such as a dash or an underscore to distinguish the filename from the running number that will be appended to the file name. Finally, set a starting number in the Number field and choose between adding the number as a suffix (after the filename) or a prefix (before the filename).
Click Next to continue.
Applying text to the acquired files
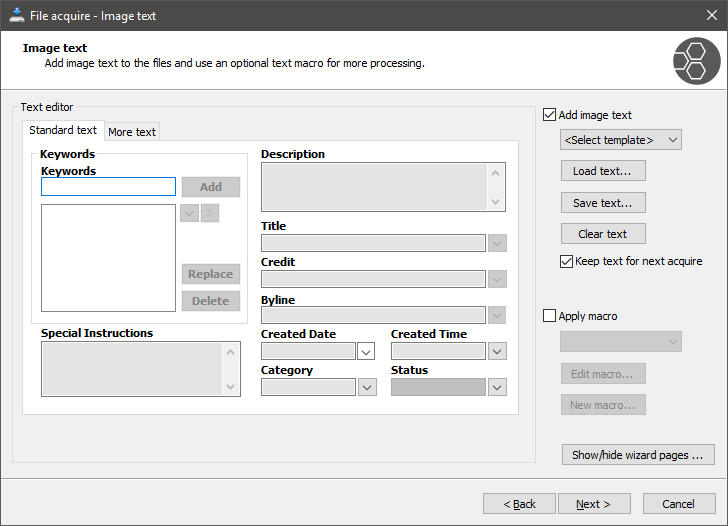
The next wizard page lets you add text to the files you are acquiring. To bring up the text editor, select Add image text. The dropdown list lets you choose one of your existing text templates, if any have been created. You can also load a text template from a file by clicking on the Load text button.
Having entered text in the text editor you can save that text as a template file by clicking on the Save text button. To quickly clear all fields in the text editor, click on the Clear text button.
Adding a macro
It is also possible to add a text macro the files. Simply select Apply macro and choose an existing macro from the dropdown list. To make changes to the macro, click on the Edit macro button. If you would like to make a new macro from scratch, click on the New macro button.
Click on the Next button to continue.
Summary
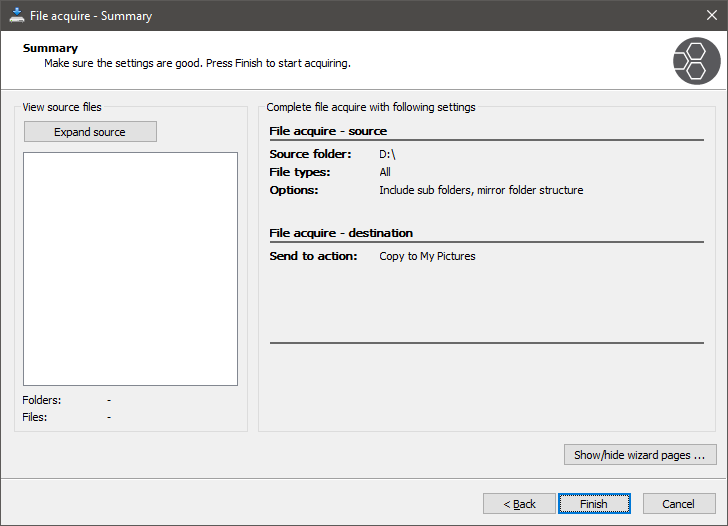
Having set all your preferences, you can expand the source folder to get an idea of the number of files in the source folder and verify the source and destination folders and their related settings. Now simply click on the Finish button to start importing files.