Watermarking processed images
How to apply a predefined watermark to pictures processed in a channel.
Watermarking pictures
In Color Factory Settings, expand the relevant channel and select Pixel Edit.
Open the Watermark tab.
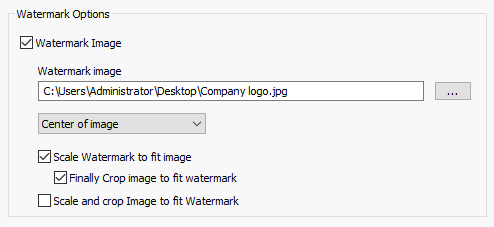
The following dialog appears.

To add a watermark to the images processed in the channel, select Watermark Image.
Choose where to place the watermark – either cornered or centered, in which case you may also scale the watermark to fit the image completely.
When scaling the watermark to fit, you can also choose to crop the image to fit the watermark's proportions.
A second alternative is to scale and crop the image to fit the watermark. This removes any need for resizing later and creates the highest quality watermark since it's applied 1 to 1.
Tips for creating a watermark
To create a watermark from a company logo you can, for instance, use the emboss tool in Photoshop. A gray level of 128 will become transparent in the final composite image. A lower, darker level will produce a darker composite result.
You can also use a PNG file with transparency enabled as the basis for your watermark in Color Factory.
