Installing FotoWeb from scratch
How to install FotoWeb on a clean Windows server with no prior version of FotoWeb installed.
Prerequisites
Make sure the system requirements, network requirements, and other settings are met. For more information, see FotoWeb system requirements and Before you install FotoWeb.
Starting the installation
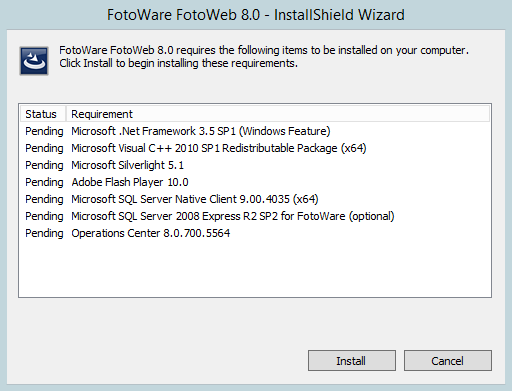
Download FotoWeb from the Fotoware Update Center and double-click on the installer. The installer may download additional required software before starting the FotoWeb installation, so an Internet connection is necessary when running an installer downloaded from the Fotoware website.

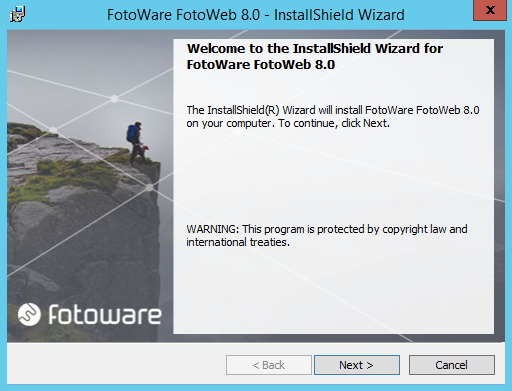
The installer wizard displays a welcome dialog box. Select Next to continue.

Before proceeding you must agree to the terms in the license agreement. Select Next to continue.
It's always a good idea to read through the release notes, as they contain information about new functionality and fixes, as well as known issues that may affect your workflow. Select Install to start copying files.
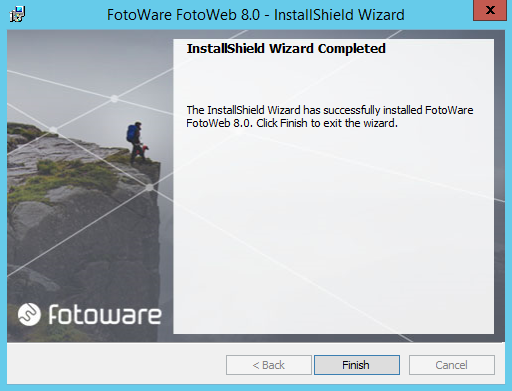
When the file copy process is complete, the following dialog box appears. Select Finish. The FotoWeb Configuration Tool helps you to automatically set the basic system preferences.

Initial configuration of FotoWeb
After the installation, the FotoWeb Configuration Tool helps you to set basic properties for your system. These settings can be changed later in the FotoWeb configuration, if necessary.
The installation program places a shortcut to the FotoWeb configuration tool on your desktop. You can cancel the configuration at this time if you would like to set up FotoWeb later. However, you must run the configuration wizard before you can start using FotoWeb. After you have completed the configuration wizard the shortcut to it disappears from the desktop, since all subsequent configurations can be performed in Operations Center Settings.
Select Next to proceed with the configuration or Cancel to configure FotoWeb later. If you choose to cancel you can start the configuration tool later by double-clicking the Configure FotoWeb shortcut on the desktop.
User account settings
All Fotoware applications use a common background service account for handling client requests and interaction with the server file system and network. If another Fotoware server application has already been set up on your server, chances are the process account is already set, and this step of the configuration wizard will be skipped automatically. For more information about the background process account, see Setting a process account for Fotoware services.
If no process account has already been set in the Operations Center Settings, you must enter a username and password here. The credentials will be verified, so typing the wrong password several times could result in the account being locked out.
If you specify a domain account and fill in the Domain field as yourcompany.com, yourcompany.net, or something similar using a suffix, you will not be able to use a trusted connection when connecting to the SQL database. That's because the SQL database stores the windows user with only the short form of the domain name, omitting the three-letter suffix (.net, .com, and so on) so that the SQL server will not be able to find the user.
Site identification
The site identification consists of a site name that is for internal use only, and host name and IP address that connect the site with IIS and the rest of the world. The site name can be anything you choose as long as it consists of letters [A-Z] , [a-z], and [0-9]. The host name must be the fully qualified host name along with the IP address as configured in the website in IIS to which this FotoWeb site will be connected to.
Selecting the IIS website
If you choose to host your FotoWeb on an IIS server, you also need to specify a unique website in IIS. The wizard displays all the websites that are available in IIS. Choose the website with the same host name and IP address as configured in the previous dialog.
Database settings
With recent versions of the FotoWeb installer, the configuration wizard does not prompt you to configure a database. Instead, these settings can be configured in the database settings in the Operations Center after setting up FotoWeb.
Note: In older versions of FotoWeb, an SQL Express instance could be specified to host the database. That database had the following default settings:
Database name: <Computer name>\Fotoware
User name: sa
Password: GgCP6127#
The specified Fotoware Process Account is also granted access to this instance by default.
f you have installed a full version of Microsoft SQL Server, then select Another SQL server that I specify to enter the details of the server.
SMTP server
An SMTP server is required for the email functionality in the FotoWeb. It is used to issue reports and statistics, invitations to shared albums, deliver files via email, and so on. The SMTP server is mandatory.
If you do not already have an SMTP server, you can use the one that is available in Windows. This service is a part of IIS and can be installed through the Add/Remove Programs in the Control Panel. Next, specify the authentication details if required by your SMTP server. If you do not want to set up an SMTP server immediately, you can leave the fields empty and select Next to proceed; but remember that important functionality in FotoWeb will not be available until an email server has been configured.
Finally, select Next to have FotoWeb start processing. When it completes, select Finish to exit the wizard.
Testing your site
After installation, you must start the FotoWeb service (use the Operations Center Settings shortcut on the desktop). Remember to start the Index Manager service before FotoWeb.
You can then test the site by navigating to the FotoWeb site's address that you set in the configuration wizard (for example http://yourfotoweb.com/fotoweb).
